Be the first to know!
Join our list to be notified of new buildings and other discounts.
(*You can unsubscribe at any time.)
Join our list to be notified of new buildings and other discounts.
(*You can unsubscribe at any time.)

If you have a shed and no shed ramp, you probably know the feeling of lugging a lawnmower or wheelbarrow or what have you up into your shed. Shed ramps help you access your shed and store heavy items in your shed easily. In this short ramble, we’ll try to answer some common questions relating to shed ramps including “How do you know if you need a shed ramp?”, “How do I build a ramp for a shed?”, and more.
Shed ramps can look like a daunting task to DIY or an added unnecessary expense on top of a shed purchase, but in the long run, having a shed ramp will help you tremendously in being able to safely store your heavy equipment with ease.

There are several factors that affect whether or not you need a ramp for your new shed. Two factors that we will take a look at is the ground-to-floor height and type of equipment that you will be storing in your shed.
This is extremely critical to consider because the height from the ground to your shed floor determines how high and how much effort you will have to put into lifting your storage items into your shed. For example, if your shed is on-grade (ground-level), your shed floor might only be around 7 ½” off the ground. However, if your shed is resting on 4x4s, for example, that already adds an extra 4” to the natural base height of your shed. At Sheds Unlimited, we build our sheds with a base height of approximately 7 ½”.
We recommend having your shed an inch above grade, so combine that with what our approximate shed height is, and you get about an 8 ½” ground-to-floor height. Lifting something 8 inches may not seem very difficult until you have to heave your ATV bikes, lawnmower, or go-cart up 8 inches into your shed every couple of days.
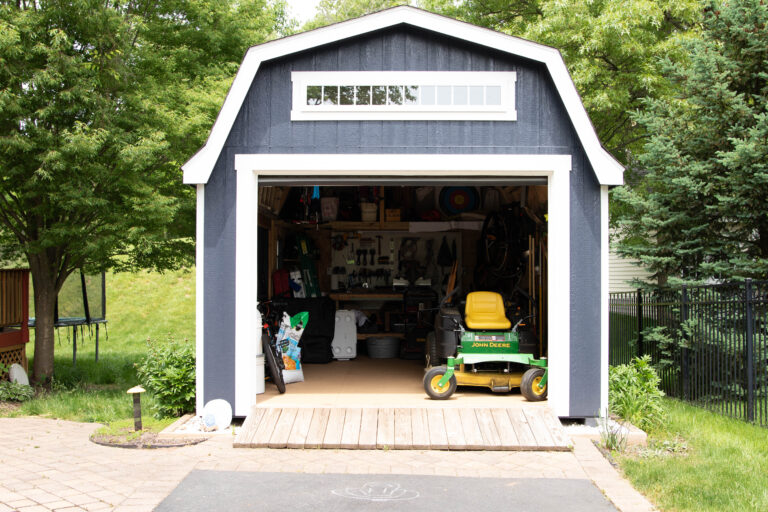
What you will be storing in your shed is probably the more important problem that should be answered before purchasing a shed. If you’re thinking about maybe just storing decor, the water hose, or lighter objects in general, a shed ramp would not be as critical (although it still would make life a lot easier). But if you’re planning to store items that you can’t lift, or simply items that are heavy and a hassle to transport, a shed ramp is definitely in your best interest. Here’s a list of storage items that you would probably want a shed ramp for.
Another aspect to keep in mind is if those with disabilities need access to the shed. Building a safe and sturdy shed ramp is extremely important when thinking about building one for those with disabilities.
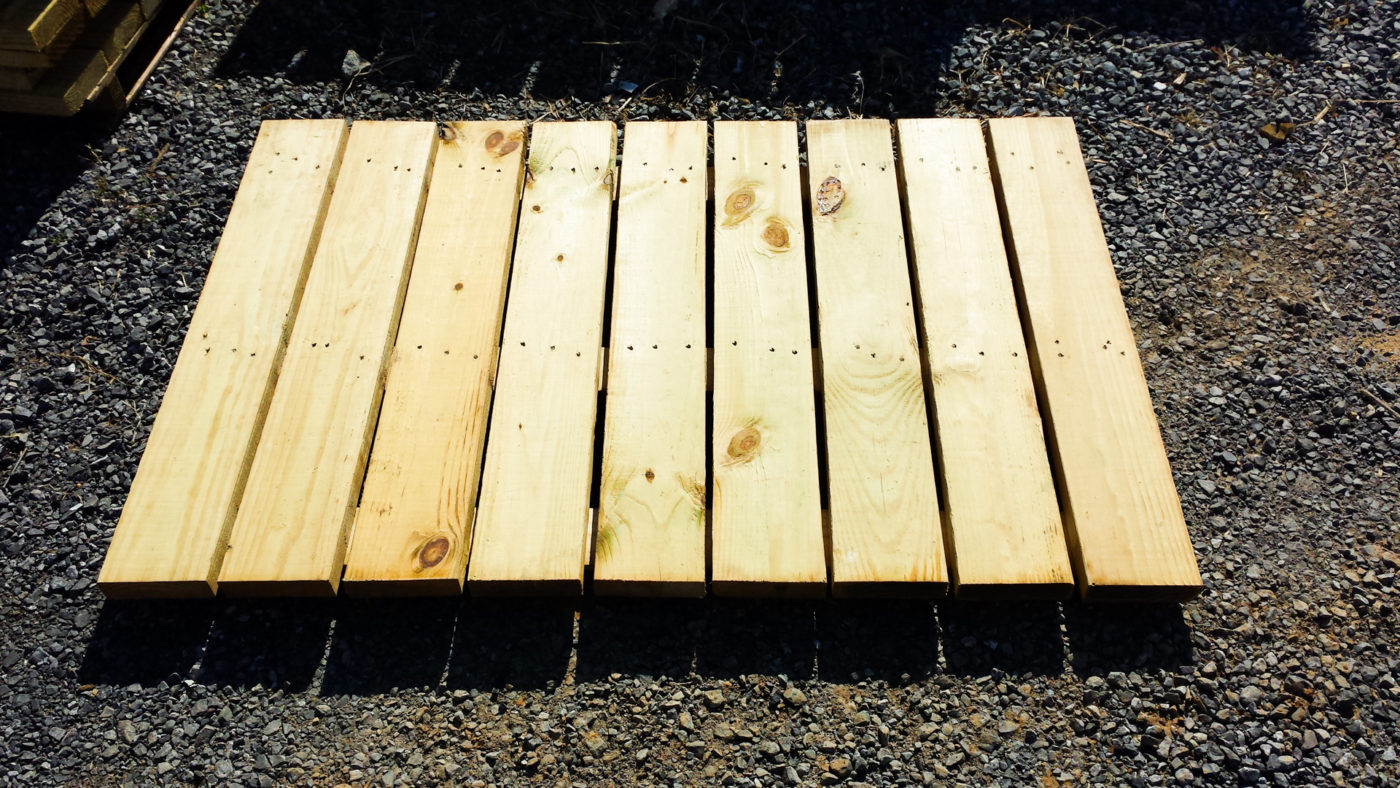
Probably the most popular question associated with shed ramps is something along the lines of how to build a ramp for a shed. Of course, the question is a fairly common one, and so there are many articles and videos explaining how to build a ramp for a shed.
To answer this question, we hope to give you a clear picture of how to construct a ramp, but at the same time, not overwhelm you with a load of nitty gritty instructions on how to build a shed ramp.
However, as we explain the process, we’ll have links to other websites that you may find useful for more specific information on the details of building a shed ramp. So without further ado, let’s get started.
Benjamin Franklin once said, “By failing to prepare, you are preparing to fail.” When thinking about building a shed ramp, a temptation you might run into is to just quickly build a shed ramp right away. Well, halfway through the construction process, you may realize that you didn’t have everything you needed to build your shed ramp. So the first step is to prepare and figure out what you need for your DIY shed ramp project.
First, find the tools that you will need. A helpful resource for what tools you will need for your shed ramp is this article here.
Next, find the slope needed for your shed ramp. Generally, eight inches of shed-ramp length is needed per inch of ground-to-floor height. If those with disabilities will need access to your shed, a 1”:12” ratio may be better. An easy way to think about this is to simply say that for every inch of height from the ground to the shed floor, to multiply that amount by either 8, 12, or whatever slope you think best.
When thinking about how steep your shed ramp should be, always lean toward a less-steep slope rather than a steep slope. Here’s why: the steeper the slope, the more danger there is of slipping or of having an accident while driving a machine into your shed. Several ways to avoid slippage on your shed ramp may be to use anti-slip paint or securing chicken wire across the shed ramp to add traction.
Another factor to consider is that if your shed ramp is too steep, your motorized equipment may ground out when going over the shed ramp onto the shed floor.
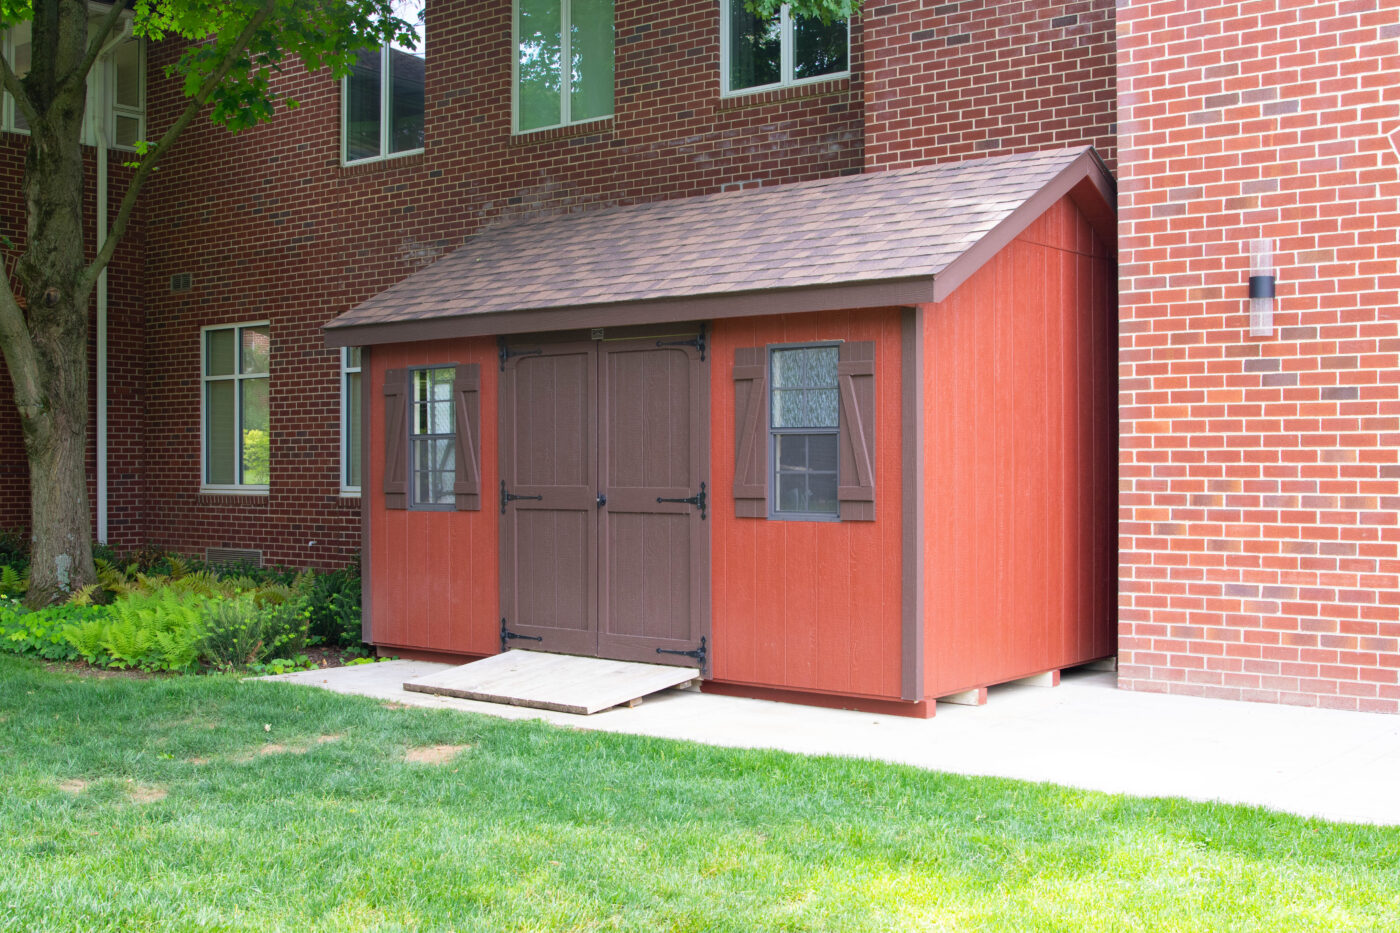
Alright now to the hands-on work. Put on your work clothes, grab a Gatorade®, and let’s get started!
First off, remember that if you’re building a wooden shed ramp, make sure that all the wood used is pressure-treated. That way your shed ramp is protected from the elements and from rotting.
Next, cut out a ledger board. Basically, a ledger board is a piece of wood that will eventually be screwed into the side of the shed about 2”-5” underneath the doorway. The ledger is what the shed ramp is attached to.
After this, find where the base of your shed ramp will be. From there, decide how level/stable you want the base of your shed ramp to be.
One of the safer bets is to simply dig up the ground and add concrete blocks for the joists of the shed ramp to rest on. The danger of not having concrete blocks underneath the joists of your shed ramp is that eventually your shed ramp may sink.
If you want to learn more, just click here to watch this short video.
It’s time to cut out the joists for your shed ramp. These joists are the skeleton of your ramp that will eventually be covered by wooden slats. The added strength and stability of the joists helps create a long-lasting shed ramp.
Measure and cut out one joist. Remember to measure and cut an angle for the top part of the joist that will be connected to the ledger. Here’s a short video on how to cut the top of the joist. If you would like to learn more about how to cut the bottom angle (if you want to cut the bottom angle) for the joists, click here. Then, simply trace and duplicate the first joist to finish the process.
Next, simply attach the joists to the ledger board either by using joist hangers or screwing through the back of the ledger into the joists. Basically, it’s not a huge deal on how the joists are attached to the ledger as long as they are sturdily in place.
In this video, the builder simply screwed through the back of the ledger into the joists.
As far as how much space is between the joists, it doesn’t matter too much although you could figure on about 16” between each joist.
After this, screw the ledger with the shed ramp into your shed. It’s a good idea to add spacer blocks between the joists for added support; it’s not a big deal whether you add the spacer blocks before or after attaching the ramp to the shed. This video shows how a builder attached the ledger to his shed.
Next, attach the slats to the top of the joists. We build our shed ramps with a ¼”-½” gap between slats. If you want to watch how to attach the slats to the joists, feel free to watch this short video here. That’s a brief overview of how to build a ramp for your shed; if you’re thinking of just simply purchasing a shed ramp, check out our ramp prices to learn more.
Or if you’re feeling strong and confident, you can build the shed ramp yourself. Either way, we hope this short section was helpful in understanding how to build a ramp for your shed. If you’re still interested in learning more about how to build a ramp for a shed, this “How to build a shed ramp” article is a great place to start.
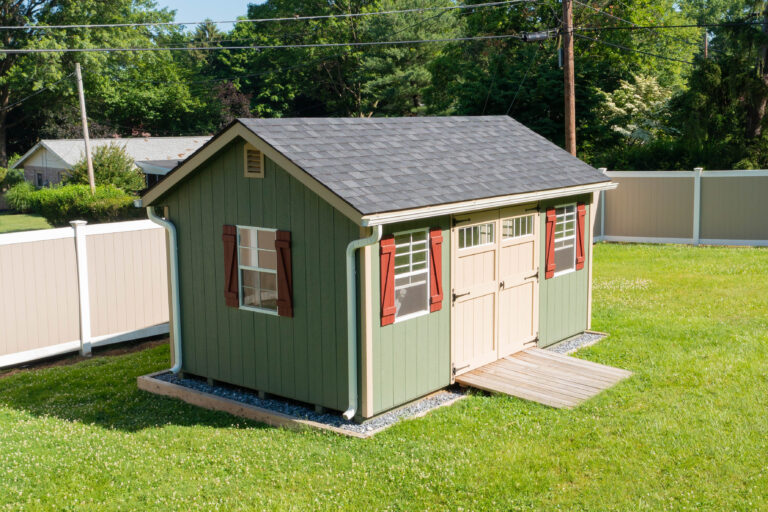
When it comes to purchasing a shed ramp, there’s not a set-in-stone material that all shed ramps are made from. In fact, shed ramps can be made from all sorts of materials including wood, concrete, or aluminum. Here’s a little information on these three kinds of shed ramps.
The plusses of a wooden ramp might be an overall better and more rustic appearance. A wooden ramp may also blend in with your shed a bit more than say a concrete shed ramp. Another bonus is that buying a wooden ramp is the most cost-efficient way to purchase a shed ramp.
Although concrete ramps take a long time to build, they are strong shed ramps that are durable. Keep in mind, though, that for better drainage, your concrete shed ramp will need to be tamped. Tamping is basically creating ridges in the concrete for better drainage.
If you’re looking for a shed ramp that will not corrode, is strong, and cannot be attacked by pests, an aluminum shed ramp may be the right buy for you.
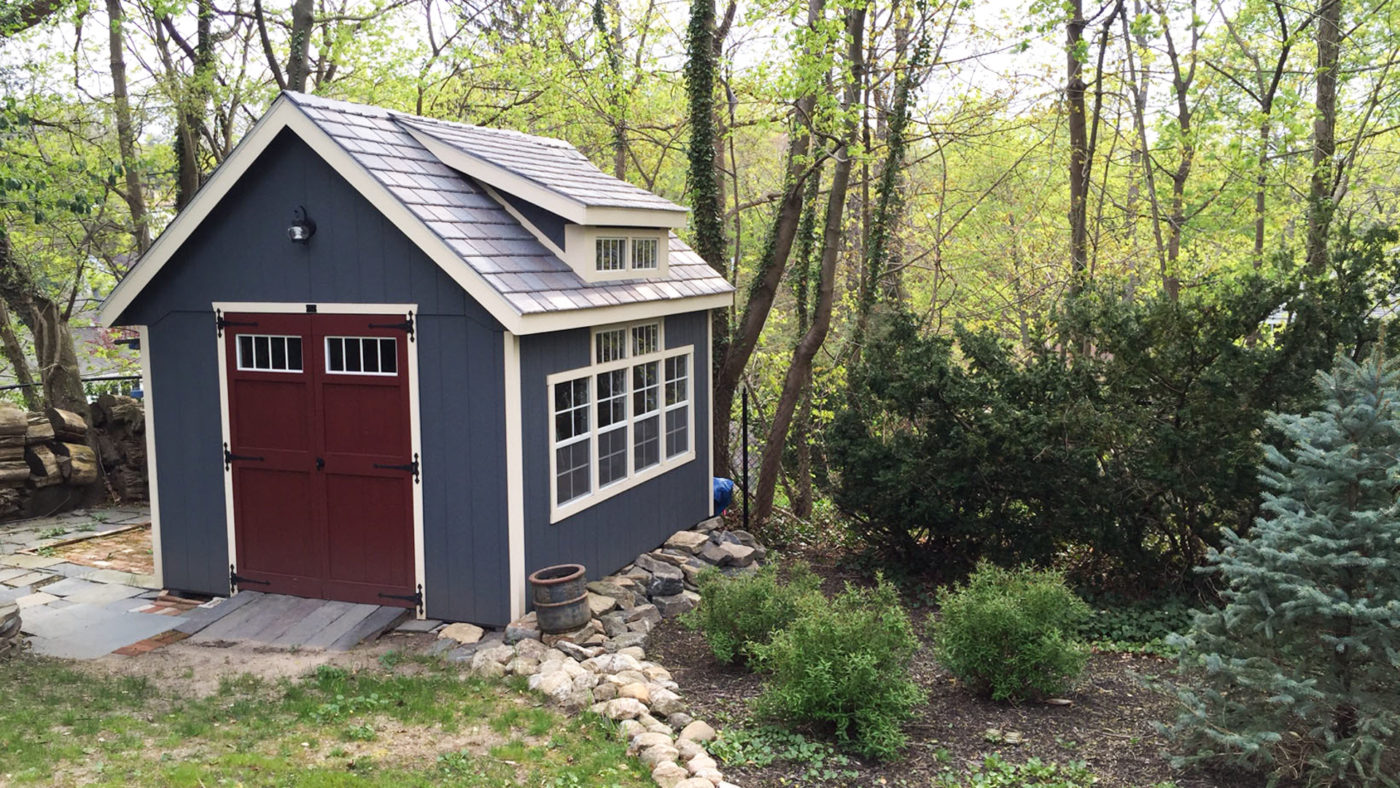
We hope that this short article was able to clear up some of the questions that you may have had about shed ramps and how to build a ramp for your shed.
Are you looking to buy a shed with a shed ramp already in the package? Our 3D Shed Designer gives you the option of simply tacking on a shed ramp to your custom shed, saving yourself the hassle of building your own. For example, if you’re thinking of purchasing an ATV shed, a shed ramp would definitely be an additional feature that you would like for your shed.
We offer standard 3’ shed ramps that can vary from 3’-9’ in width. If you want to check out our shed ramp prices, click the button below!
Create the building of your dreams by customizing a design in 3D. You can also call us at 717-442-3281. We're here to assist you!